Advanced Techniques: How to Blend Colors for a Seamless Finish
Share
Article Summary
This advanced guide, written by founder William Murdock, teaches the essential techniques for color blending in paint by numbers. It covers two professional methods: 'Dry Brushing' for soft effects, and 'Wet-on-Wet' for smooth gradients. The article provides step-by-step instructions and recommends specific kits like the "Morning Glow" and "Sunset Balloons" as perfect canvases for practicing these advanced skills. It concludes by linking this technique to achieving a truly gallery-quality result.
If you've mastered the basics of paint by numbers, you may be ready to elevate your art. The single most impactful technique for transforming a good painting into a great one is blending. This is the secret to creating the soft, seamless transitions between colors that you see in professional artwork.
While our kits are designed to look beautiful without any blending, learning this skill will give you a new level of artistic control. As a designer, I can tell you that understanding how to create a soft gradient is a fundamental art principle. In this guide, I'll walk you through two of the most effective blending techniques.
Technique 1: Dry Brushing (For Soft, Hazy Effects)
Dry brushing is the perfect technique for creating soft, atmospheric effects like misty skies, gentle glows, or the dreamy backgrounds in our "Morning Glow" kit. It requires a light touch and a mostly dry brush.
Step 1: Paint Your Base Colors
First, paint the adjacent color sections as you normally would and let them dry completely.
Step 2: Prepare Your Brush
Select a clean, completely dry brush. Dip just the very tip of the bristles into a small amount of the lighter of the two colors you want to blend.
Step 3: Remove Excess Paint
This is the most critical step. Vigorously wipe the brush on a clean paper towel until almost no paint seems to be coming off. The brush should be "dry."
Step 4: Feather the Edge
Using very light, gentle, back-and-forth or circular motions, brush over the hard line where the two colors meet. The tiny amount of pigment on your brush will create a soft, hazy transition, beautifully blurring the line.

Technique 2: Wet-on-Wet Blending (For Smooth Gradients)
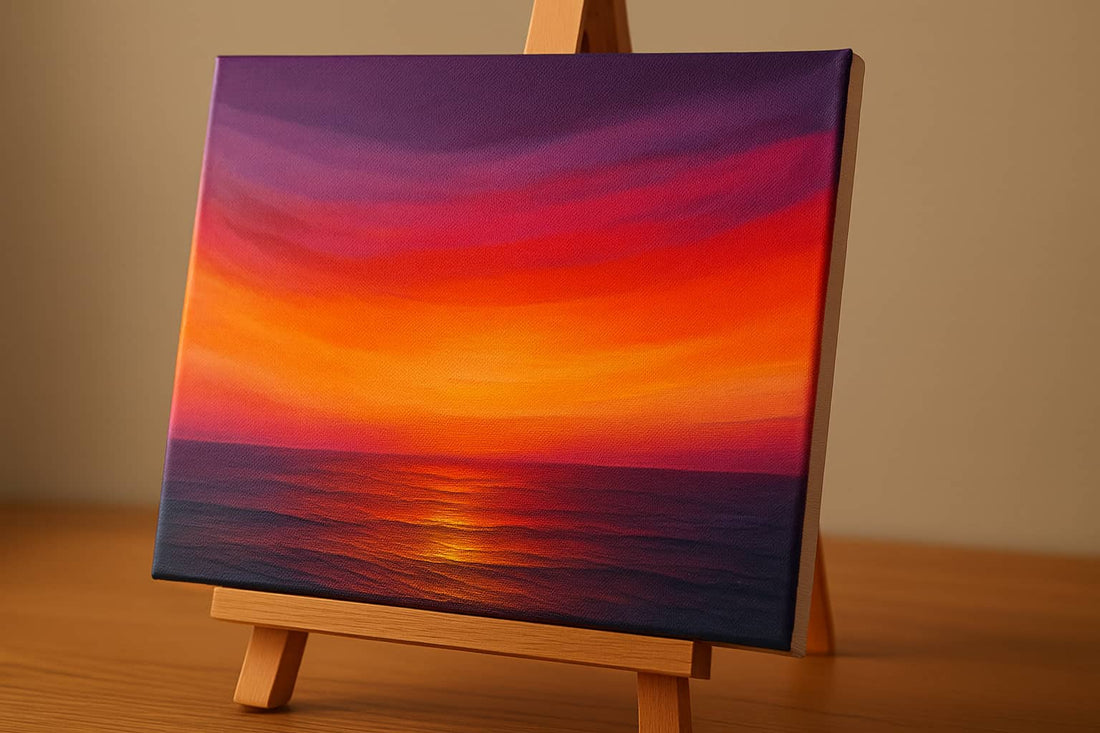
This technique is ideal for creating the beautiful, seamless color gradients you see in a sunset. It's the perfect method to use on a kit like our "Sunset Balloons". This method requires you to work more quickly while the paint is still wet.
Step 1: Work in Small Areas
This technique only works while the paint is wet, so focus on a small area at a time.
Step 2: Apply Both Colors
Paint two adjacent numbered sections with their correct colors, but don't let them dry.
Step 3: Clean and Dampen Your Brush
Quickly rinse a brush and dab it on a paper towel so it's damp, not dripping wet.
Step 4: Pull the Colors Together
Use the clean, damp brush to gently pull the lighter color into the darker color with short, soft strokes right along the line where they meet. The colors will naturally mix on the canvas, creating a smooth gradient.

Practice Makes Perfect
Like any new skill, blending takes a little practice. Don't be afraid to experiment on a piece of paper first. Mastering this technique will add a new level of depth and professionalism to your finished artwork and is a key step in moving from a beginner to an expert, as we outlined in our main Beginner's Guide. The most important thing is to have fun with the process.


About the Author
This guide was written by William Murdock. As a designer, William believes that learning advanced techniques is the key to unlocking a deeper level of creative satisfaction.
Ready to Master Your Craft?
The best way to practice blending is with a beautiful landscape or abstract piece. Explore our collections and find the perfect canvas for your new skills.
Explore Landscapes