Sealing and Framing Your Masterpiece: A Professional Guide
Article Summary
This expert guide provides a definitive, step-by-step process for professionally finishing your paint by numbers artwork. Written by founder William Murdock, it covers the two most critical final steps: sealing your canvas with the correct varnish and assembling a DIY stretcher bar frame. This article provides actionable, pro-level advice to protect your art and give it a gallery-quality display, linking to essential products in the Accessories Collection.
The final brushstroke isn't the end of your creative journey. The way you finish and present your art is what transforms it from a completed project into a true masterpiece. Taking the time to properly seal and frame your canvas not only protects it for years to come but also gives it the professional, gallery-quality look it deserves.
As the founder of Paint On Numbers, I believe that the finishing process is a vital and rewarding part of the craft. In this guide, I'll walk you through the two essential final steps.
Step 1: How to Seal Your Canvas (The Professional Way)
Sealing your painting with a varnish is a critical step. It creates a protective barrier against dust, UV light that can fade colors, and moisture. It also unifies the sheen of the paint, giving your piece a consistent and polished finish.
What You'll Need:
A clear, non-yellowing acrylic varnish (available in gloss or matte) and a wide, flat, soft-bristled brush. You can find both in our Accessories Collection.
The Sealing Process:
- Ensure It's Completely Dry: Before you begin, make sure your painting is 100% dry. We recommend waiting at least 24-48 hours after your final brushstroke.
- Wipe Down the Surface: Gently wipe the surface of your canvas with a soft, dry, lint-free cloth to remove any dust particles.
- Apply the First Coat: In a well-ventilated area, pour a small amount of varnish into a dish. Using your wide, flat brush, apply a thin, even coat across the entire canvas in smooth, parallel strokes, either horizontally or vertically.
- Let it Dry and Apply a Second Coat: Allow the first coat to dry completely (check the varnish instructions for specific times). Then, apply a second thin coat in the opposite direction of the first. This cross-hatching technique ensures a perfect, even seal.

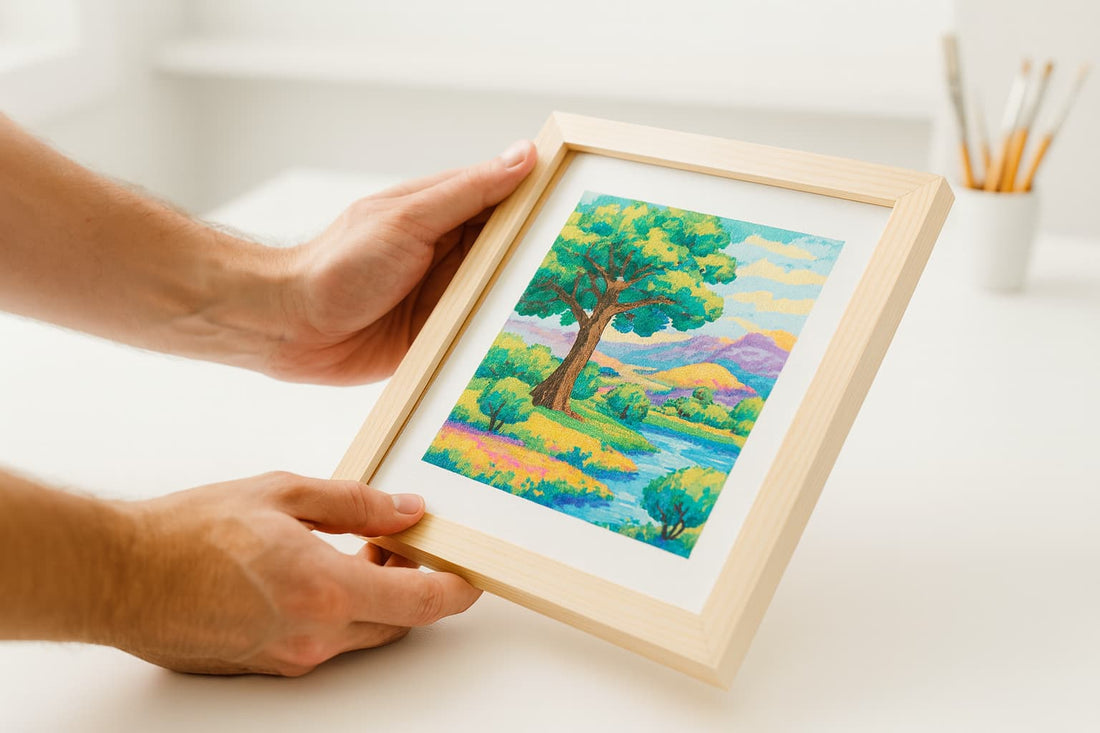
Step 2: How to Frame Your Artwork
Framing is what turns your canvas into a piece of ready-to-hang art. Our DIY Wooden Stretcher Bar Frame Kits are the perfect, professional solution.
The Framing Process:
- Lay Out Your Materials: On a clean, flat surface, lay your finished painting face down. Unpack your four wooden stretcher bars.
- Assemble the Frame: The corners of the bars are designed to slot together perfectly. Firmly press the four corners together to form the rectangular frame.
- Position and Secure: Place the assembled frame onto the back of your canvas, ensuring it is perfectly centered. Begin securing the canvas by folding the edges over the back of the frame and using a staple gun or the provided fasteners.
- The "Gallery Wrap" Technique: For a professional result, always start by securing the center of each of the four sides first. Then, work your way out toward the corners, gently pulling the canvas taut as you go. This method prevents any ripples or sagging.

For more detailed instructions, you can also consult the excellent guide on our sister site: How to Frame Your Paint by Numbers.

Ready to Finish Your Masterpiece?
The right tools make all the difference. Explore our collection of professional-grade accessories to give your art the gallery-quality finish it deserves.
Shop Accessories